cintel-02-app
Continuous Intelligence and Interactive Analytics - Initial App
- Interactive app: cintel-02-app
- Repository: cintel-02-app
- Author: Inga Miller
In this module, we add another important tool: Python. If you are new to Python, don’t worry, it’s relatively easy to learn and very powerful.
🚀 Rocket Tips are for learners who want to go beyond the basics. They are not required but can improve workflow, increase productivity, and make things more enjoyable.
Prerequisites
- Sign up for a free account on shinyapps.io. You can sign in via GitHub for convenience.
2 Copy this starter repository into your own GitHub account by clicking the ‘Fork’ button at the top of this page.
- Install Python 3 from the official Python website. Add Python to your PATH during installation.
First: Modify Your README.md
You have a copy of this repository in your own GitHub account. The README.md file is the first thing people see when they visit your repository. Customize your README.md file to include your name and links to your GitHub account.
Step 1. Get the Code to your Machine
- Open VS Code and from the menu, select View / Command Palette.
- Type “Git: Clone” in the command palette and select it.
- Enter the URL (web address) of your forked GitHub repository (make sure it contains your GitHub username - not denisecase).
- Choose a directory on your machine (e.g., Documents folder) to store the project.
- If prompted, sign in to GitHub from VS Code.
Step 2. Edit README.md in VS Code
With your repository folder open in VS Code:
- Click on this README.md file for editing.
- Update the README.md file by changing your name in the author link above.
- Update the links in the README.md file to your username instead of denisecase.
Step 3. Save Your Changes to GitHub
- After making changes, send them back up to GitHub.
- In VS Code, find the “Source Control” icon and click it.
- Important: Enter a brief commit message describing your changes.
- Change the “Commit” button dropdown to “Commit and Push” to send your changes back to GitHub.
Excellent work! Take a break and celebrate your progress. There’s a lot of useful skills involved in this process.
Second: Get Started with Shiny For Python
When you’re ready, continue on to the next section to set up your local Python environment and get started with Shiny for Python.
See SHINY.md.
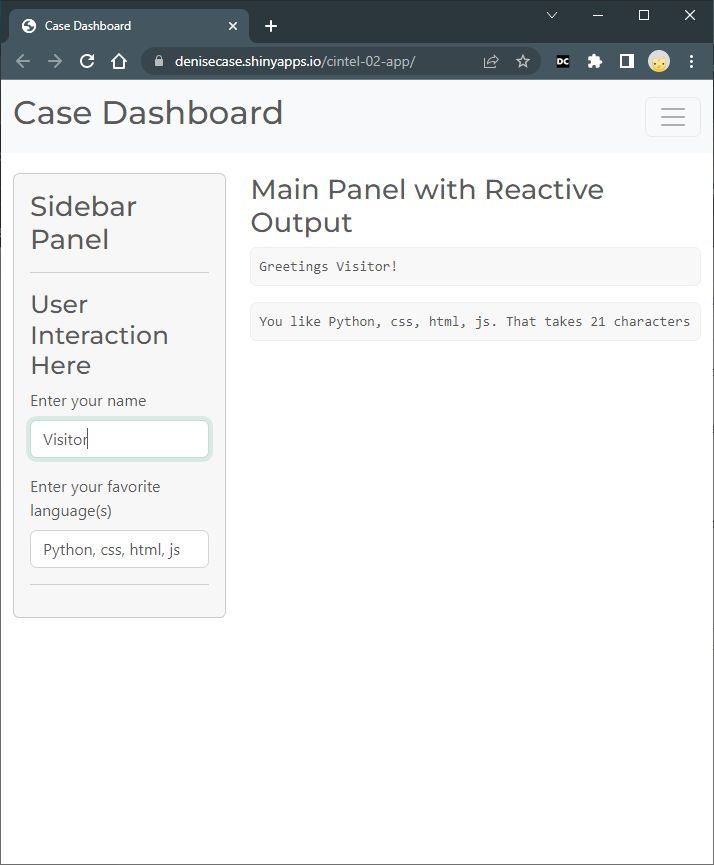
With Shiny for Python, we can create interactive apps using Python.